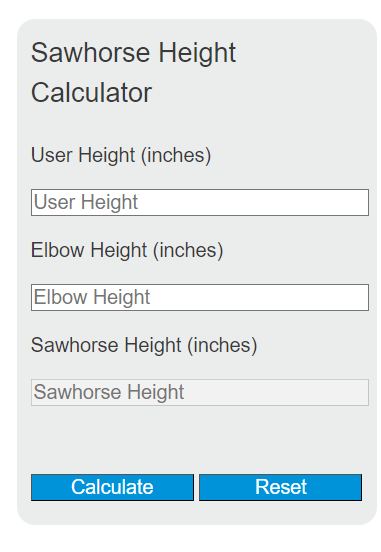
Calculate sawhorse height, user height, or elbow height by entering any 2 values and converting between inches, feet, cm, or meters.
Related Calculators
- Cut Length Calculator
- Shelf Spacing Calculator
- Board Coverage Calculator
- Blind Size Calculator
- All Construction Calculators
Sawhorse Height Formula
For most standing woodworking tasks, the top of the sawhorse should be set slightly below your standing elbow height. This creates a comfortable arm angle, reduces shoulder tension, and helps keep your back from hunching over the work.
SH = sawhorse height measured from the floor to the top support surface
EH = standing elbow height measured from the floor to the point of the elbow
The 2-inch reduction is a simple ergonomic offset. Instead of forcing the work surface exactly at elbow level, it places the work slightly lower so your forearms can angle down naturally during sawing, sanding, fastening, and general assembly.
Why elbow height matters more than total height
User height is helpful as a reference, but elbow height is the measurement that actually determines a comfortable sawhorse setting. Two people with the same overall height can still need different sawhorse heights because torso length, inseam, shoulder position, and arm length vary from person to person.
Adjusting for material thickness
If the board, panel, jig, or sacrificial top sits on top of the sawhorse, the real working height is higher than the sawhorse itself. In that case, subtract the added thickness so the finished working surface still stays slightly below your elbow.
WH = effective working height
T = thickness of the workpiece, top, foam, or jig above the sawhorse
| Measurement | What to Measure | Why It Matters |
|---|---|---|
| User Height | Floor to top of head while standing normally | Reference only; not the primary driver of the setup |
| Elbow Height | Floor to elbow with shoulders relaxed and arms bent comfortably | Main ergonomic input for setting sawhorse height |
| Sawhorse Height | Floor to the highest load-bearing point of the horse | Determines how high the work actually sits before adding material thickness |
How to measure elbow height accurately
- Stand on the same floor surface where you will be working.
- Wear your usual shop shoes or boots if they add noticeable height.
- Relax your shoulders and let your upper arms hang naturally.
- Bend your elbows into a comfortable working position.
- Measure from the floor straight up to the point of the elbow.
- If you use an anti-fatigue mat, platform, or top cap, include that in your setup before measuring.
Example
If your standing elbow height is 42 inches and the material resting on the sawhorse adds 1.5 inches of thickness, the sawhorse itself should be set to 38.5 inches so the final working surface ends up at 40 inches.
Rearranging the formula
If you already know the sawhorse height and want to determine the matching elbow-height target, rearrange the relationship below.
Practical setup guidance
- General cutting and support: Start with the calculator result as your default setting.
- Heavy downward-force tasks: A slightly lower setup can improve leverage and stability.
- Light assembly or layout work: A slightly higher setup may reduce bending, as long as your shoulders stay relaxed.
- Two-sawhorse setups: Check that both tops are level before loading long boards, doors, or sheet goods.
- Portable workstations: Recheck height any time you change shoes, flooring, or add a plywood top.
Common mistakes
- Measuring to the wrong point on the arm instead of the actual elbow height.
- Ignoring the thickness of the workpiece or sacrificial top.
- Measuring barefoot and then working later in thick-soled boots.
- Assuming total body height alone is enough for an accurate fit.
- Using two sawhorses with slightly different heights, which can twist or rock the work.
Frequently asked questions
- Should the sawhorse top be exactly at elbow height?
- Usually no. Setting it slightly below elbow height is more comfortable for most standing shop tasks and helps keep the arms in a neutral working position.
- What if I place a 2x board or plywood sheet on top of the sawhorse?
- Subtract that added thickness from the sawhorse height so the final working surface does not end up too high.
- Does user height still matter?
- It helps describe the person using the setup, but elbow height is the measurement that directly controls comfort and ergonomics.
- What point on the sawhorse should be measured?
- Measure to the highest surface actually supporting the workpiece, not to lower braces, side rails, or decorative caps.