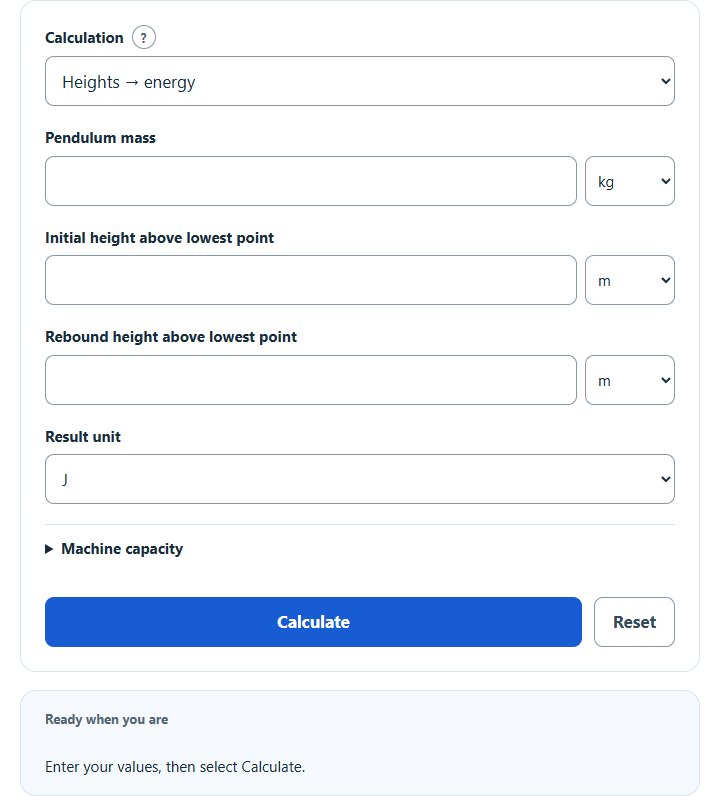
Calculate Charpy impact energy, rebound angle, and impact strength from pendulum mass, heights, arm length, or specimen dimensions.
Calculator Functions
| Function | What it does | What it requires |
|---|---|---|
| Heights → energy | Finds the energy the pendulum loses between its release height and its rebound height | Requires the pendulum mass, the initial height and the rebound height |
| Heights → mass | Finds the pendulum mass that gives a stated energy over a known drop in height | Requires the absorbed energy, the initial height and the rebound height |
| Heights → initial height | Finds the release height that matches a stated energy and rebound height | Requires the pendulum mass, the absorbed energy and the rebound height |
| Heights → rebound height | Finds how high the pendulum rises after absorbing a stated energy | Requires the pendulum mass, the absorbed energy and the initial height |
| Angles → energy | Finds the energy lost from the release and rebound angles read off the machine dial | Requires the pendulum mass, the pivot-to-center-of-mass length, the release angle and the rebound angle |
| Angles → mass | Finds the pendulum mass that gives a stated energy between two angles | Requires the absorbed energy, the pivot-to-center-of-mass length, the release angle and the rebound angle |
| Angles → arm length | Finds the pivot-to-center-of-mass length that gives a stated energy between two angles | Requires the pendulum mass, the absorbed energy, the release angle and the rebound angle |
| Angles → release angle | Finds the release angle that matches a stated energy and rebound angle | Requires the pendulum mass, the pivot-to-center-of-mass length, the absorbed energy and the rebound angle |
| Angles → rebound angle | Finds the angle the pendulum swings up to after absorbing a stated energy | Requires the pendulum mass, the pivot-to-center-of-mass length, the absorbed energy and the release angle |
| Impact strength → energy per area | Divides the absorbed energy by the specimen area left under the notch | Requires the absorbed energy, the specimen breadth, the depth and the notch depth, typed in or filled by a specimen preset |
| Impact strength → absorbed energy | Converts an energy per net area back to the absorbed energy for a specimen | Requires the energy per net area, the specimen breadth, the depth and the notch depth |
Mass is entered in kg or lb, lengths in m, ft or in, angles in degrees or radians, energy in J, ft-lbf or BTU, and specimen dimensions in mm or in. Every result also shows the energy in both J and ft-lbf. An optional machine capacity, typed in or picked from presets between 150 J and 750 J or 120 ft-lbf and 400 ft-lbf, adds the percentage of that capacity the energy uses and a warning above 80%.
Charpy Impact Test Formulas
| E | Energy the pendulum loses in the swing, before any correction for machine losses (J) |
| m | Pendulum mass (kg) |
| g | Acceleration of gravity, fixed at 9.81 m/s² |
| h₁ | Height of the pendulum at release, measured vertically from its lowest point (m) |
| h₂ | Height the pendulum reaches after breaking the specimen, from the same lowest point (m) |
The potential energy of a Charpy pendulum is its height of fall multiplied by its weight [1], and m × g is that weight. The energy spent on the specimen is the potential energy at release minus the potential energy at the top of the rebound.
Heights → energy
The main formula applies directly. A 2 kg pendulum released from 1.5 m that rebounds to 0.8 m loses 2 × 9.81 × 0.7 = 13.734 J. A rebound height above the release height is rejected.
Heights → mass
The two heights must differ, because a pendulum that rises as high as it fell has lost no energy and no mass can be worked out from it.
Heights → initial height
The term E ÷ (m × g) is the drop in height that the stated energy represents for this pendulum, and it is added to the rebound height.
Heights → rebound height
An energy larger than m × g × h₁ is rejected, since the pendulum cannot give up more energy than it had at release.
Angles → energy
(cos θ₂ − cos θ₁) [1]
L is the distance from the pivot to the pendulum’s center of mass, θ₁ is the release angle and θ₂ is the rebound angle, both measured from the pendulum hanging straight down. A pendulum of length L swung to an angle θ sits at a height of L × (1 − cos θ) [1], so the two heights in the main formula become the two cosine terms. A 20 kg pendulum with L = 0.75 m released at 140° that rebounds to 100° loses 20 × 9.81 × 0.75 × (cos 100° − cos 140°) = 87.1711 J. Angles above 180° and a rebound angle above the release angle are rejected.
Angles → mass
(cos θ₂ − cos θ₁))
This is the angle formula solved for mass. The release and rebound angles must differ.
Angles → arm length
(cos θ₂ − cos θ₁))
The result is the pivot-to-center-of-mass length that makes the stated mass and angles give the stated energy.
Angles → release angle
E ÷ (m × g × L))
An energy that would need the pendulum to start above 180°, which is straight up, is rejected.
Angles → rebound angle
E ÷ (m × g × L))
An energy larger than the pendulum holds at its release angle is rejected.
Impact strength → energy per area
S is the energy per net area, E is the absorbed energy, b is the specimen breadth across the notch, d is the depth in the notch direction and n is the notch depth. The product b × (d − n) is the cross section left under the notch. A blank notch depth counts as zero, which gives an unnotched cross section. The specimen presets fill 10 × 10 mm with a 2 mm notch for a full-size V-notch, 10 × 7.5 mm and 10 × 5 mm for the sub-size V-notch bars, and 10 × 10 mm with a 5 mm notch for the U-notch and keyhole bars. The result is given in J/m², kJ/m² or ft-lbf/in².
Impact strength → absorbed energy
This reverses the division: 1,250 kJ/m² on a full-size V-notch bar with 80 mm² under the notch is 100 J.
How to Calculate Impact Strength from a Charpy Test
Take the absorbed energy from the machine, work out the area left under the notch, and divide the first by the second. For a full-size V-notch bar the area is 10 mm × (10 mm − 2 mm) = 80 mm², or 0.00008 m². A reading of 100 J then gives 100 ÷ 0.00008 = 1,250,000 J/m², which is 1,250 kJ/m² or 594.8 ft-lbf/in². Impact strength → energy per area does this division for any breadth, depth and notch depth.
Limits of This Estimate
- The height and angle functions describe an ideal pendulum. A real machine also loses energy to friction, and that friction loss is measured as part of verifying the machine [1]. A formal absorbed-energy result comes from a verified machine with those losses accounted for.
- Gravity is fixed at 9.81 m/s². Machine verification uses the local acceleration of gravity [1], which differs slightly from place to place.
- Energy per net area is a simple division of energy by area. It does not convert a sub-size result to a full-size Charpy energy, and it is not a fracture toughness. These estimates are based on the best available data and estimations.
- The specimen presets fill in dimensions only. Notch shape, notch radius, tolerances and specimen length come from the test standard being followed.
Sources
- NIST, Recommended Practice Guide: Computing Uncertainty for Charpy Impact Machine Test Results (Special Publication 960-18), Appendix B: pendulum height from length and angle, potential energy as height times weight, friction loss and local gravity